# Tasks Assignments
In Kitsu, a task is a fundamental element used for planning, organizing, and tracking various aspects of your production.
Assigning a task to a user offers several benefits:
- You have a clear understanding of who is responsible for each task.
- Users are aware of their assigned tasks.
- Users can log time spent on each task.
- You can monitor individual workloads.
- Task groups by user are visible on the detailed task type page.
- The team schedule provides an overview of your studio.
- You can forecast team productivity.
- You can track the actual performance of your team.
# Add Users to the Team
In the section on preparing your team, we cover how to add people to Kitsu, set their permission levels, and link them to a department.
TIP
In order for a user to be assigned to a task, they must first be added to a production. Please note that you cannot assign tasks to users outside of the production.
First, lets add some users to our production. Within your project, from the dropdown menu at the top of the page, select the Team page.
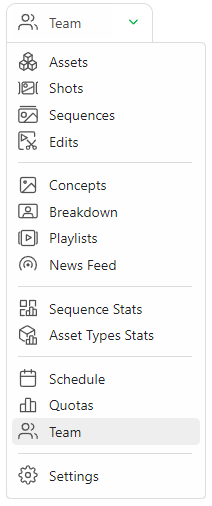
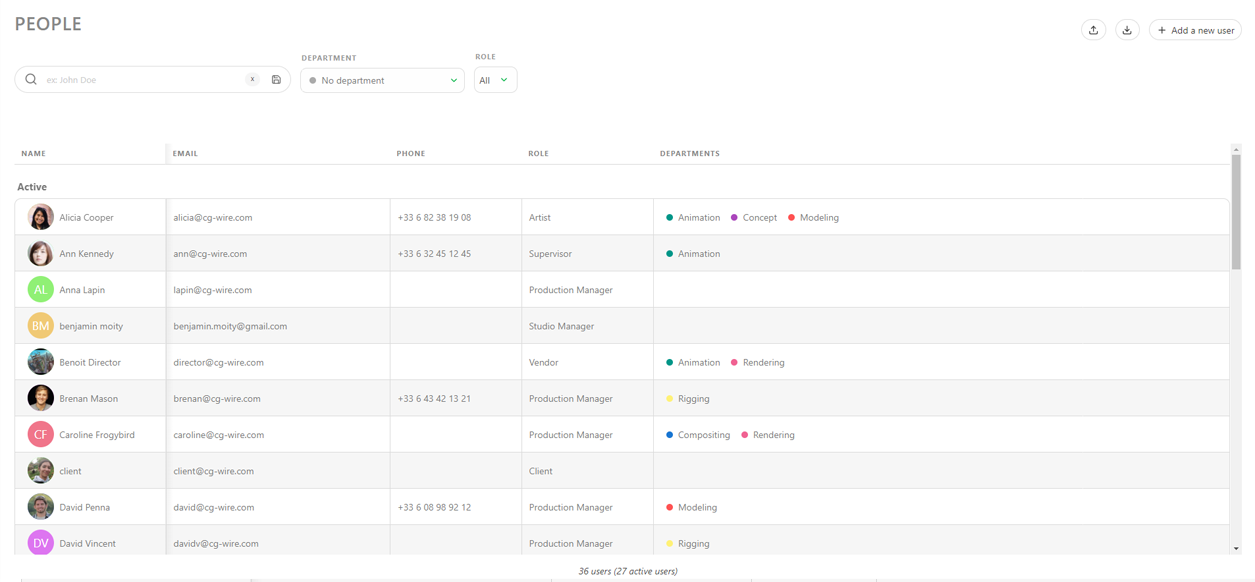
On the this page, you can see all the users who have been assigned to this project. If you've just created a brand new project, this page will be empty. for a specific project. You can also quickly navigate to the team page for a different project, by selecting the project name in the drop down menu.
WARNING
Permissions and departments are set at the Studio Level. You can't adjust these at the production level.
# How to Assign Tasks
# Assign Tasks From the Global Page
Once you've added all your users to the production, it's now time to assign your first task!
Definition
In Kitsu, tasks from each task type are visually represented by the Status of the task cell, as shown below.

Click the status on the task that you want to assign.
You'll then see the comment panel appear on the right side of the screen, containing various options for configuring that task.
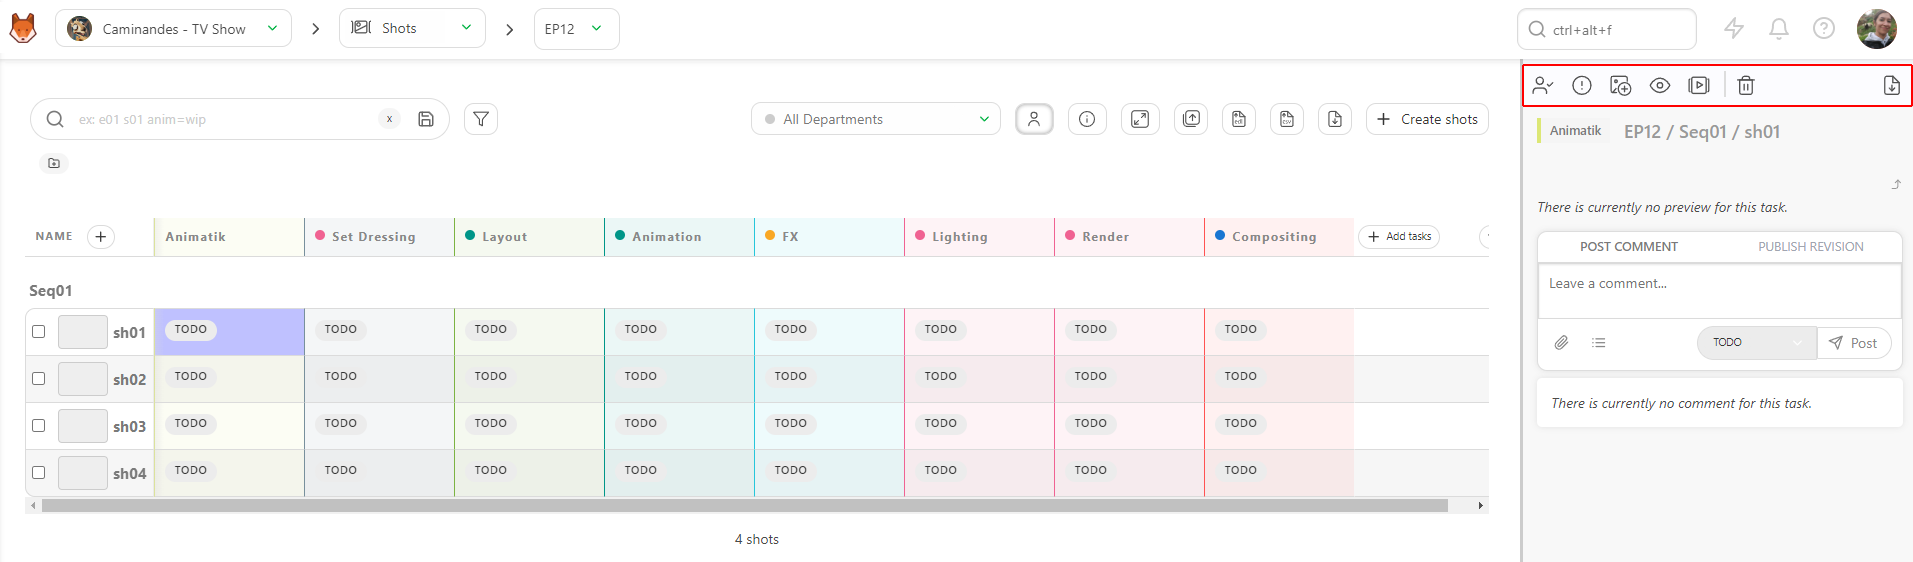
Then, click on the assignee button to open the assignment dialogue

This is where you can assign users to the task. Click into the box to reveal a popup with available users. Alternatively you can start typing the users name to quickly narrow a specific user. Select the user you want to assign, and click on the assign to selected task button to complete the assignment.
Note
You can assign more than 1 user to a single task
You can also assign a user to multiple tasks simultaneously. First, you'll need to select the tasks you want to assign. You can do this by holding Ctrl / Cmd on your keyboard and clicking on the tasks you want to select. Alternatively, you can use the Shift key to select a range of tasks. You'll notice that the selected tasks are highlighted in blue.
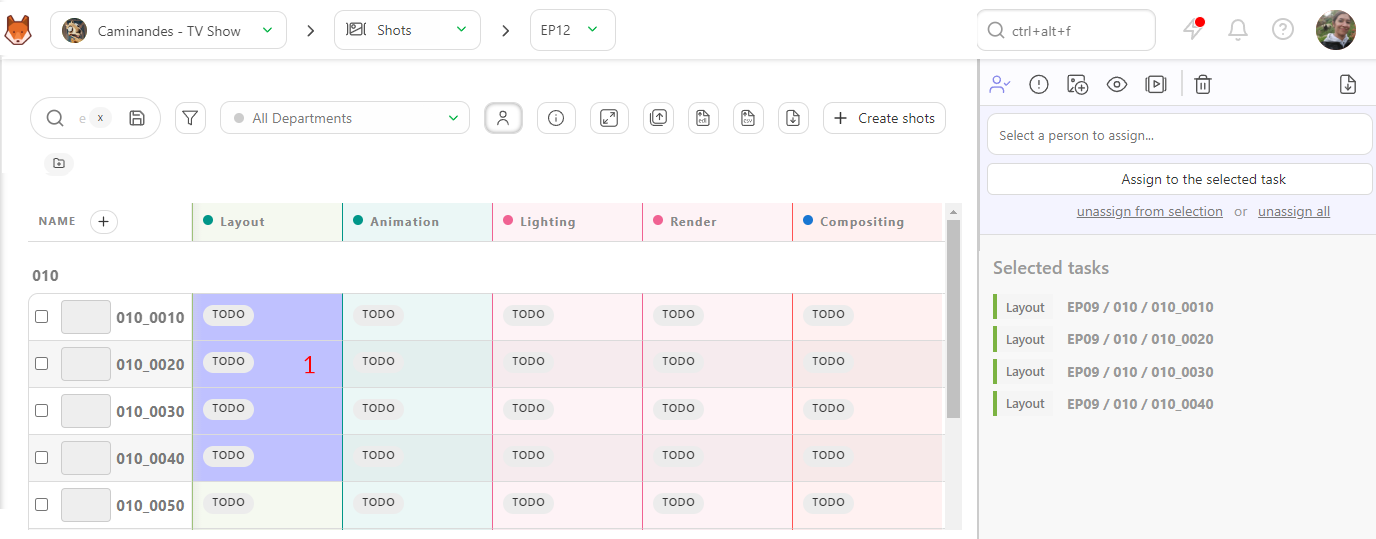
Once you have your tasks highlighted, select a user to assign and confirm your selection by clicking the Confirm button. Similarly, you can use the unassign from selection option to remove these assignments.
Now, you can see the artist's avatar next to each of the task's status.
You can toggle the visibility of task assignments on or off by using the Show/Hide Assignments button located at the top of the spreadsheet  .
.
Keep in mind that task assignments can determine what a user sees, depending on their role (for instance, vendors need to be assigned to a task before they can view anything).
With your assignments completed, everyone knows their tasks and responsibilities!
# Assign Tasks From the Detailed Task Type Page
You also have the option to assign tasks from the detailed task type page. To access this, click on the column header of the task type.
Next simply click on a status to open the comment panel. From there, you'll have the same options available as on the global page. You can select one or multiple tasks simultaneously to assign a user.